
DIY Ikea Kallax Record Shelf
How to build

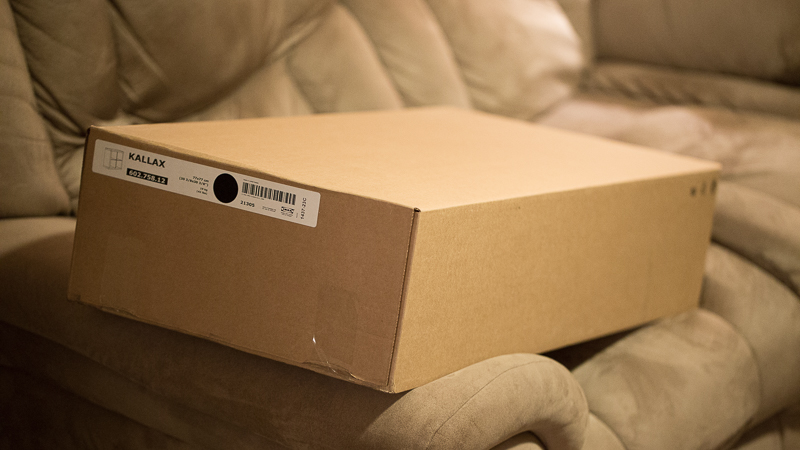
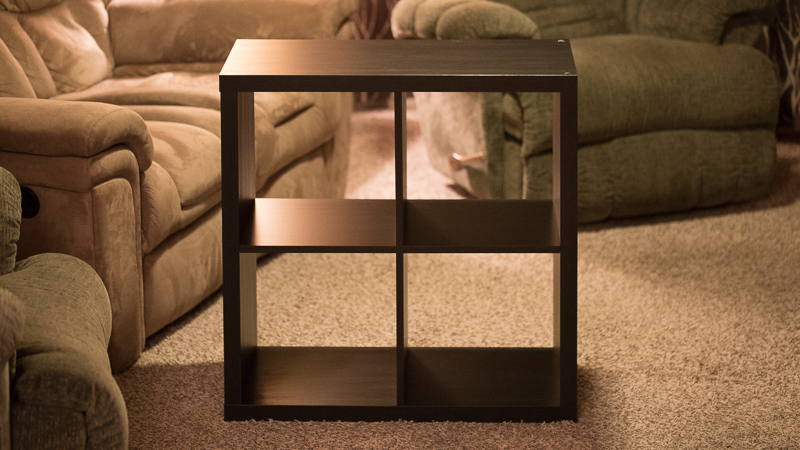
My records must be organized, alphabetized, protected, and easy to access.
But with an ever growing and evolving collection, I need more space. If you’re anything like me, and chances are that if you’re here, this is a problem we share. These steps will help assist you in building an IKEA Kallax (or Expedit) and make it bomb proof for vinyl records.
There’s a photo I saw of a 5×5 Expedit that collapsed. According to the picture, it was setup with the cross member boards going vertical instead of horizontal, but still, thats scary when you are trusting your investment in something you’ve built to help preserve it.

Step 1
Step 2
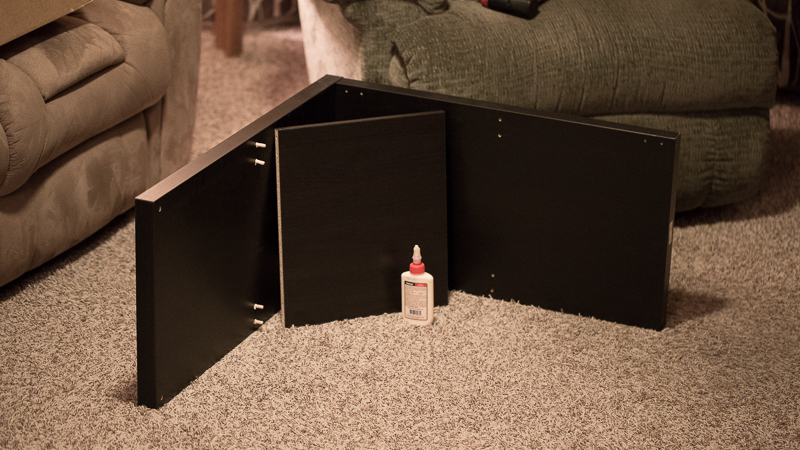
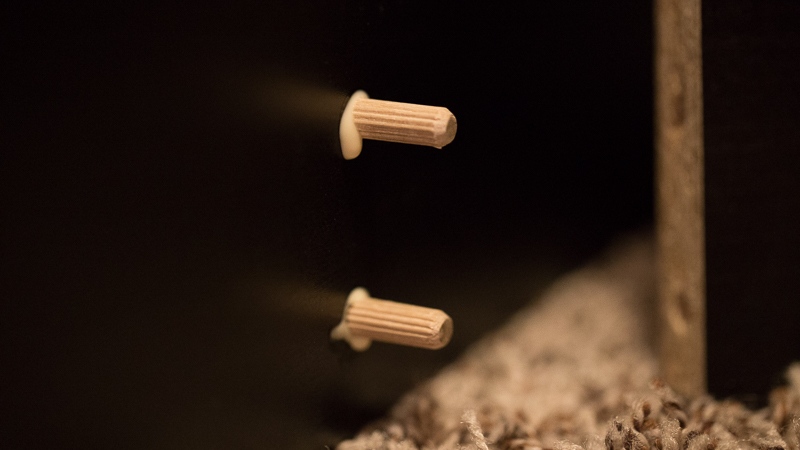
I chose to use wood glue and glue in the pegs. This is not required, and if you go this route, it will stay put together forever. I had remembered the 5×5 and 5×1 Expedit coming enough wooden dowels for 4 on each side of every board, this 2×2 Kallax didn’t come with that many. Unlike many times with Ikea furniture where there are leftover pieces, this time I was short a few, so while you are there, pickup 6 more dowels from their free parts bin. They are part number 101339, and this will give you enough to complete the project properly.
Step 3
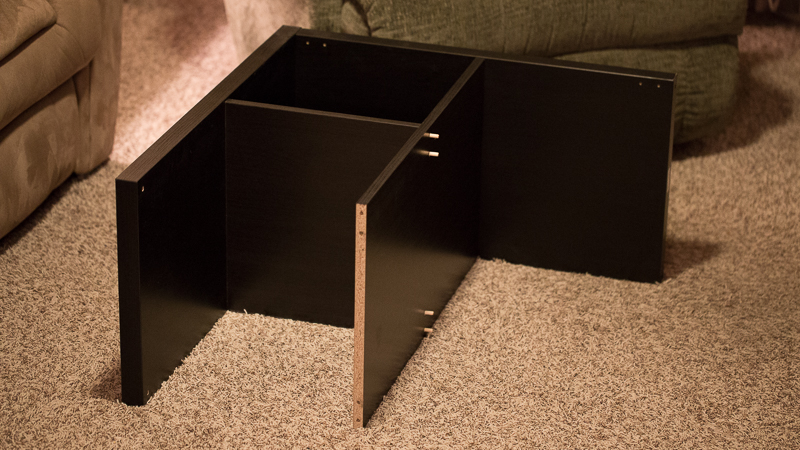
Keep assembling. The instructions for this part of the unit are thorough and self explanatory so I’d probably just be redundant in explaining them.
Step 4
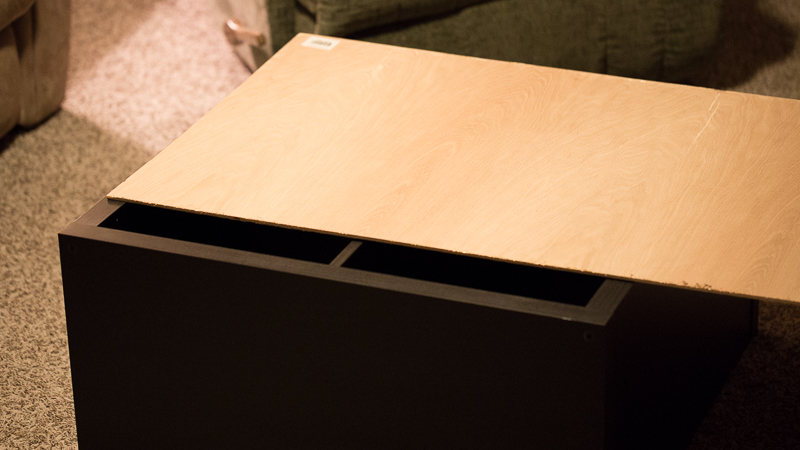
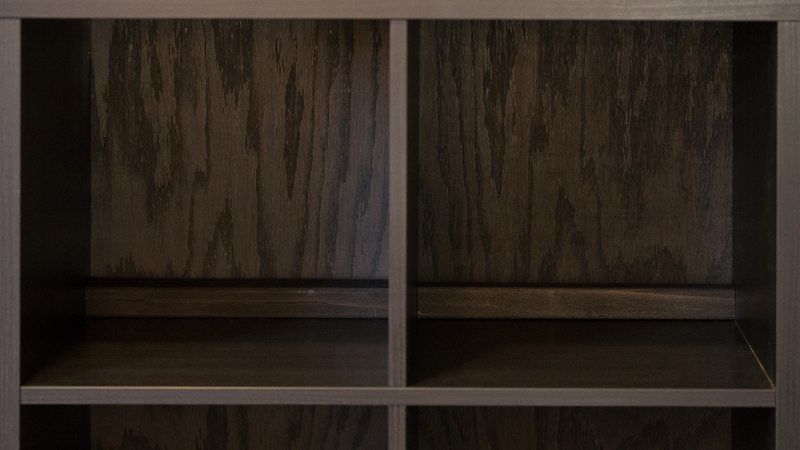
At this point you are done with the Ikea portion of the build, but the records would push through all the way back to the wall. This feels messy and the perfectionist in me wants to make it better.
Step 5
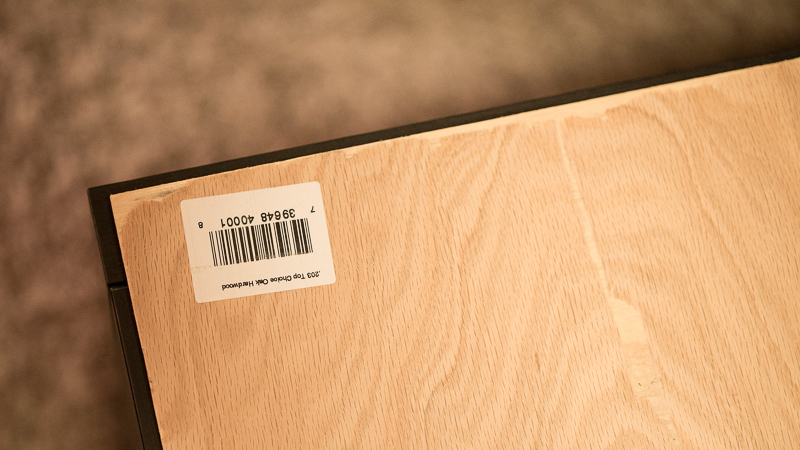
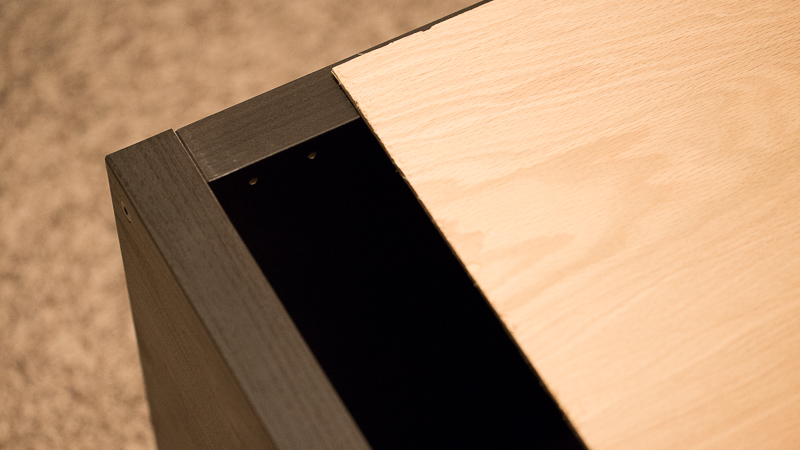
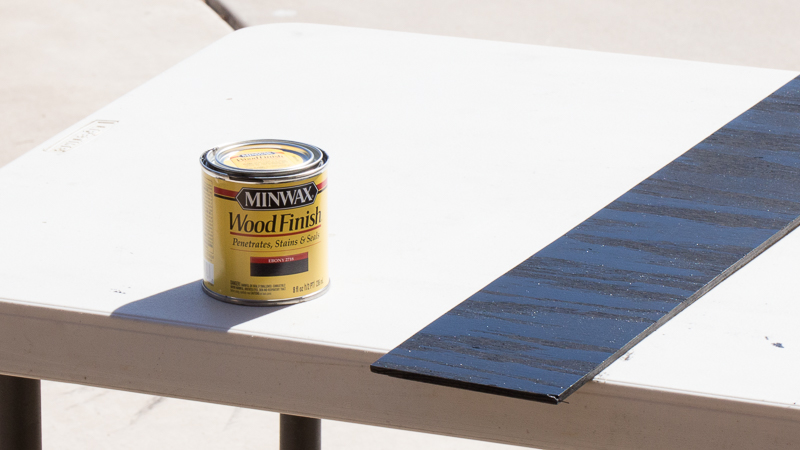
“Better” can be achieved with a 4’x8’ sheet of plywood. I like oak and decided to use some leftover scraps from my previous builds. If not, I would be able to do the whole back in one piece. However, due to my desire for perfection, we will be introducing spacers. The spacer will be a few inches from the bottom of each shelf, and be screwed into the plywood, so I have positioned my board to allow for the two pieces of plywood to meet up along this area. You need to measure this as the different sized units of Kallax (or Expedit) will require different sized plywood. Home Depot can rip it for you if you measure your shelf before going in. I would just subtract 1/2” from the dimension and you will be all set if you are using a fresh 4’x8’ sheet of plywood. If you are doing a 4×4 Kallax, you will want to make sure you account for where the two pieces will meet up, and if you want to use the spacer to hide it, measure for that. Alternatively, you can hide it along the shelf. I did that for my 5×5. A bit more care is needed for measuring, but it works fine.
Step 6
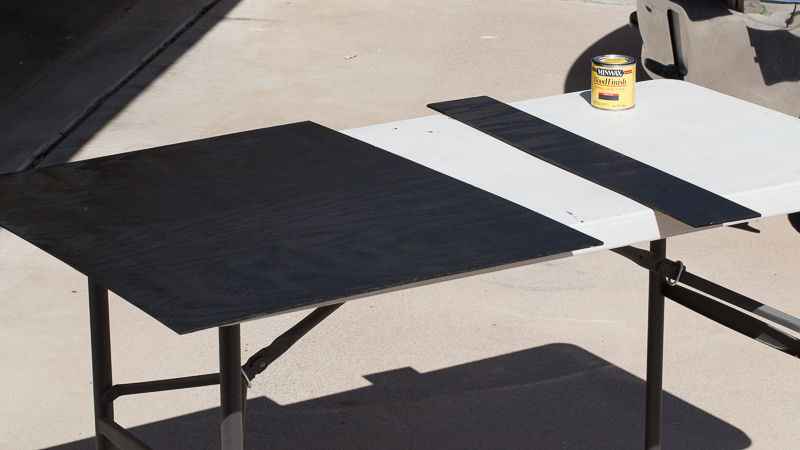
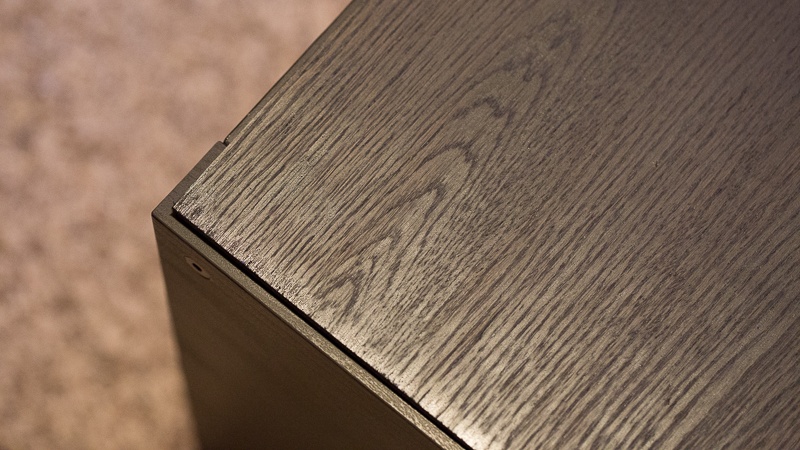
I chose to use Ebony colored wood stain by Minwax as it matches that dark hallmark color that Ikea furniture is known for. I’ve found that one coat works well for the plywood, but your applications may vary.
Step 7
You’ll need it to measure the distance from the center of the cross member to the outside shelves. The next step is to screw the plywood all around the main outside frame, but it will be flimsy and be an overall waste of effort to not affix the backing to the shelves themselves. This will add stability and increase the visual appeal of your unit.
Step 8
With a larger build like my 5×5, or the 4×4, I would recommend white paint marker.
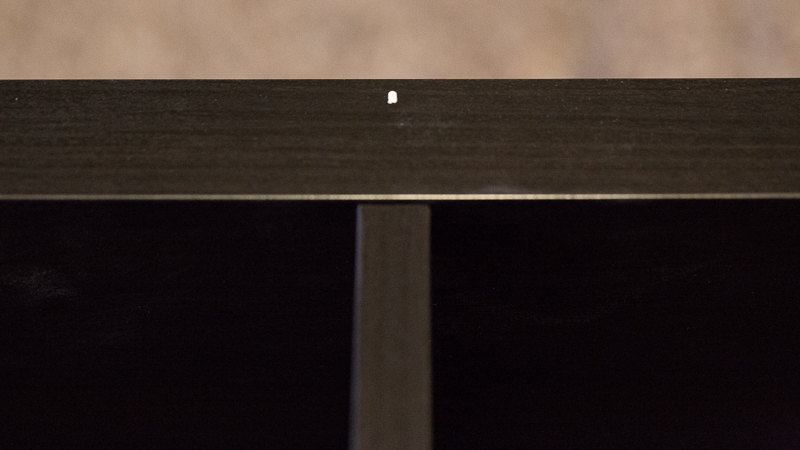
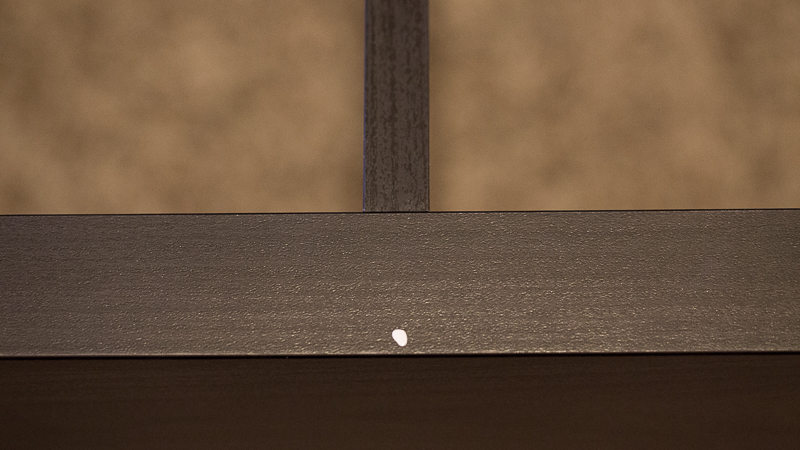
Put a dot in the center of each shelf, all the way around the unit, at the very outer edges. Then when you have your plywood backing dropped on the back and looking good, it doesn’t matter you are flying 100% blind for the shelves. Why? Because you can make a cheater line out of chalk.
So how do we do that?
You get a chalk line reel from just about any hardware or home goods store. It’s under $10 and is worth every penny for a larger unit, and can be used for plenty of other projects.
This step works best if you’ve already put a couple screws in along one edge. This step might require a buddy. Take one end of the chalk string, and have someone hold it on one of the dots you made. Go across the shelf to the other dot, and pull the chalk line tight. Reach out a ways, grab the line, pull directly outwards away from the plywood, and release. The line will snap back, leaving a nice straight line for you to follow.
After you have taken all your measurements or marked off the center of each shelf, you can position your plywood backing.
Step 9
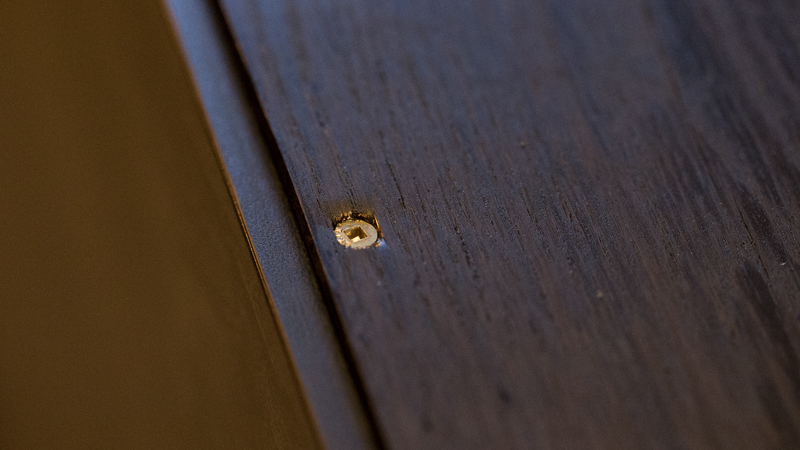
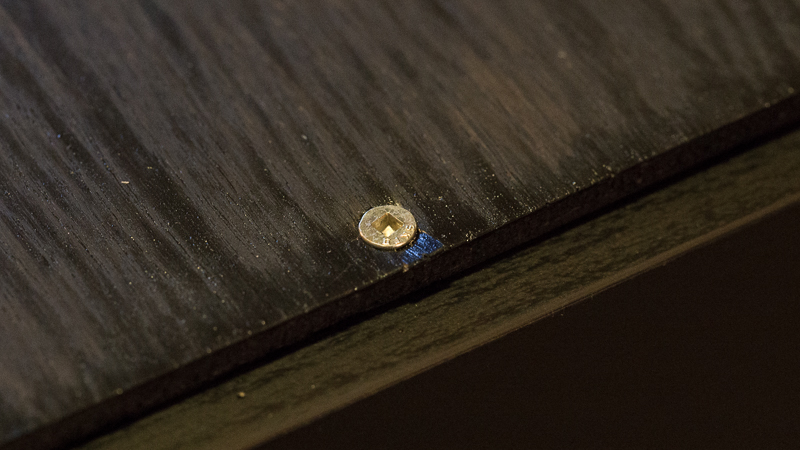
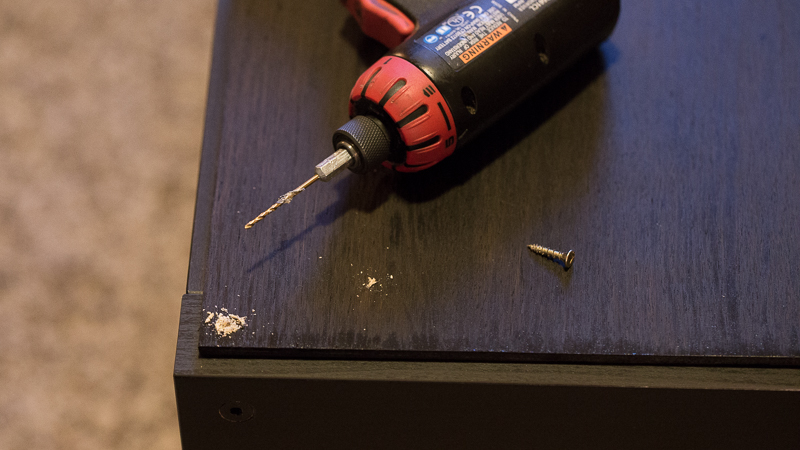
For screws I prefer square drive. Typical Phillips have the tendency of stripping out the screw head, and I quite honestly don’t have the patience for that, so I stick to square drive. The ones I used were 3/4” long.
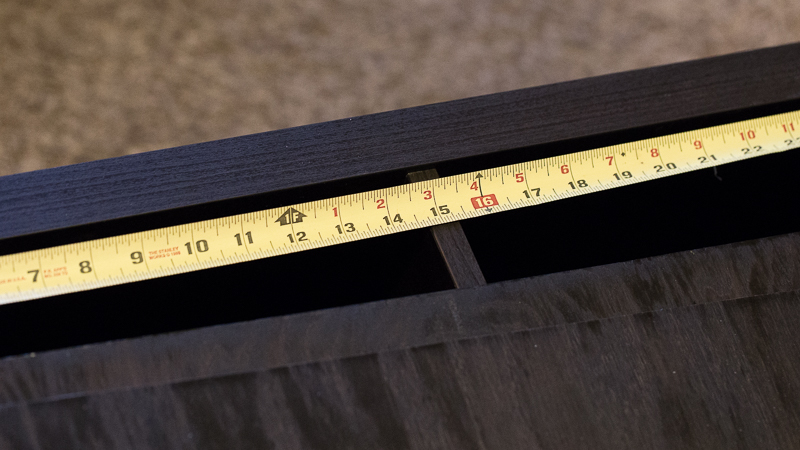
The 2×2 is simple. There is a divider each direction which makes up the 4 shelves in the 2×2. You can just measure from the outside, in towards the center of the divider. Then use this measurement to put screws in a line down the middle.
Continue screwing things into place. You shouldn’t need to pre-drill the holes in my opinion, but if you’re more comfortable with it, there is that option.
Step 10
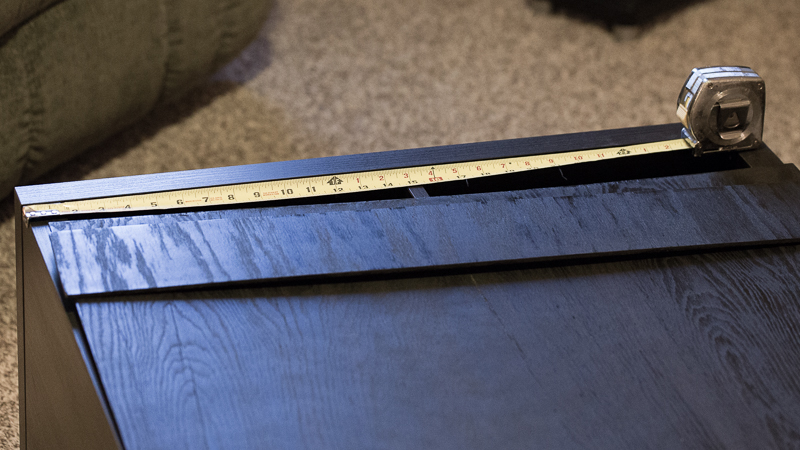
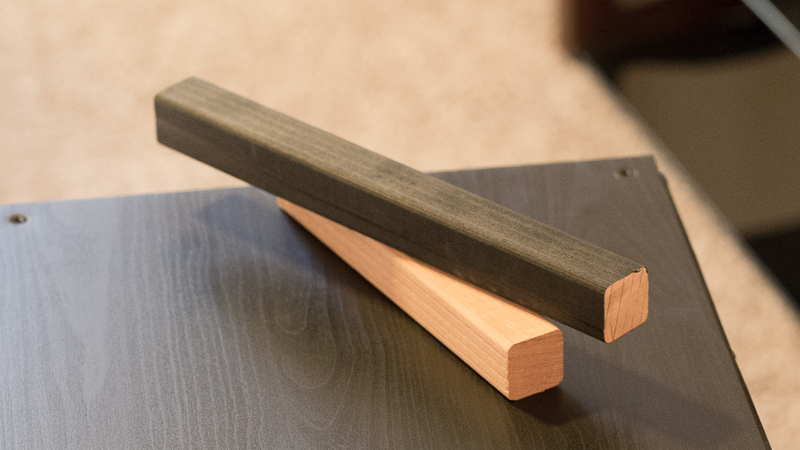
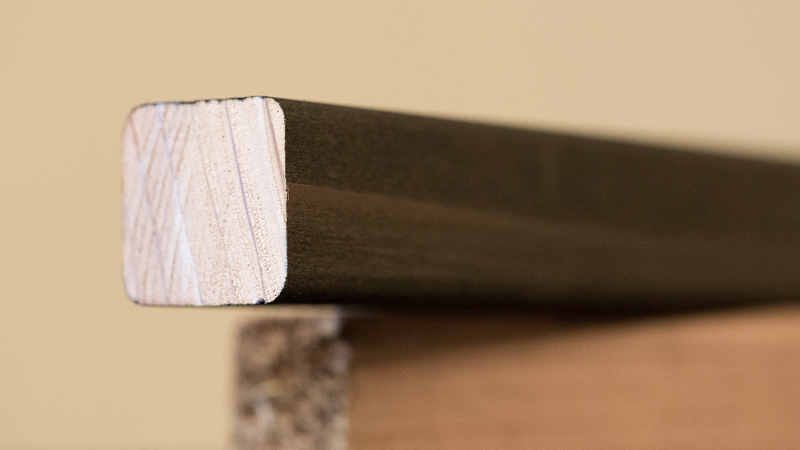
It’s time to install the spacers. You can use what you want, but I would get a 2”x2” from Home Depot of Poplar. Its about $8 for an 8′ piece, and unlike the Pine, it is much easier to find a straight one. Plus, this one was rounded on the sides so there was minimal finishing work. The 2”x2” isn’t actually 2”, which is good. Its more like 1 5/8”, which is perfect if you ask me.
It can be stained with Minwax, and then cut them at 13.5” each. Then custom chop each one to the shelf its going in by marking it and chopping.
Step 11
Now that your unit is complete, the spacers could just rest on the shelf. Conceivably your records aren’t going anywhere, but I’m not finished yet.
Step 12
This is the point where you need to decide where the spacers will be screwed into the plywood backing (I chose mine to match the plywood joint at the beginning of the project).
Step 13
Get some screws and use a couple to attach them. For the joint area I used a few more than it needs.
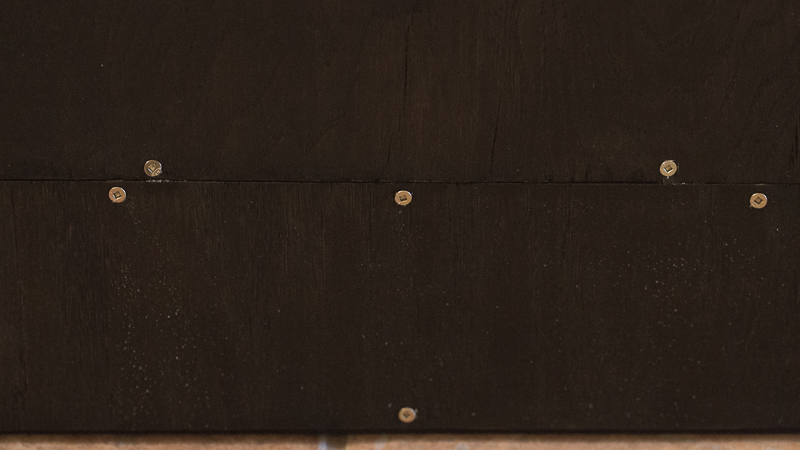
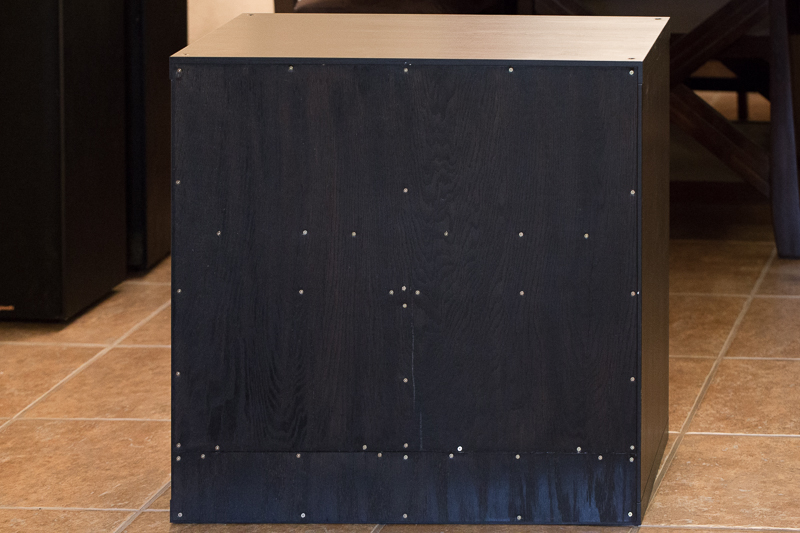
This is the backside with all the screws.
Step 14
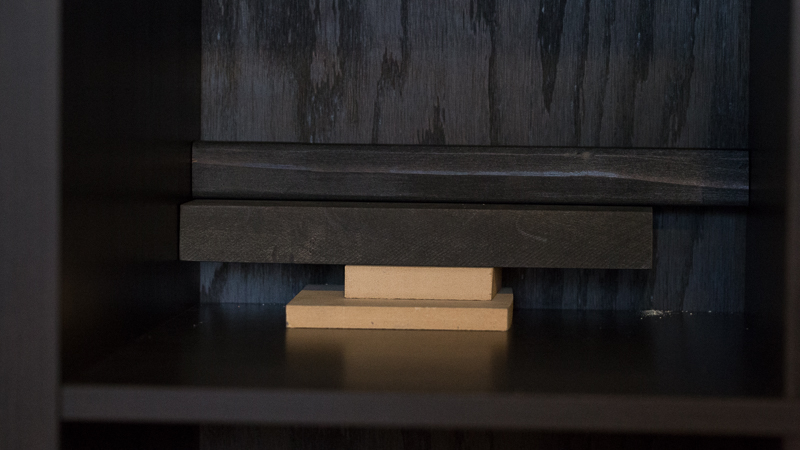
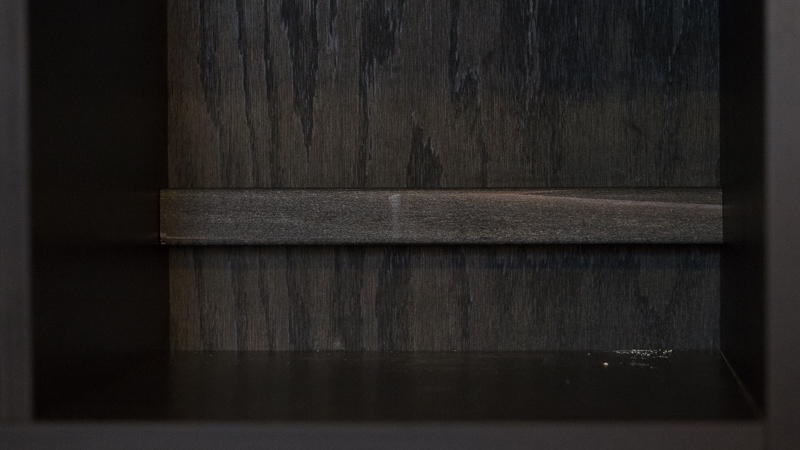
Here is a closeup of a finished spacer, all your hard work is about to pay off.
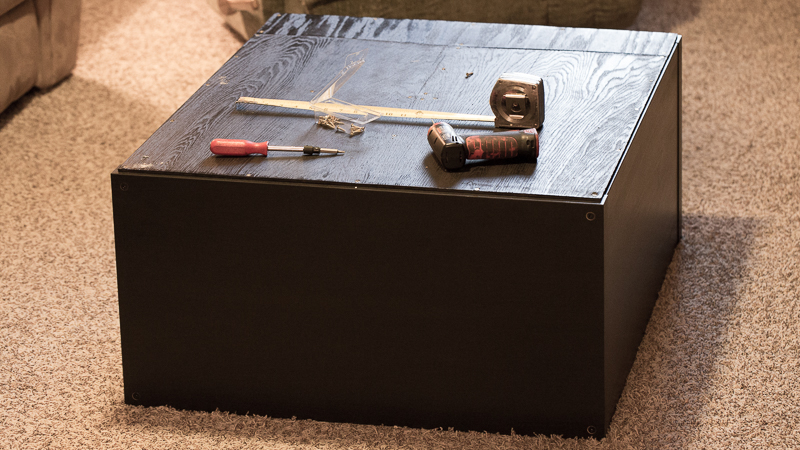
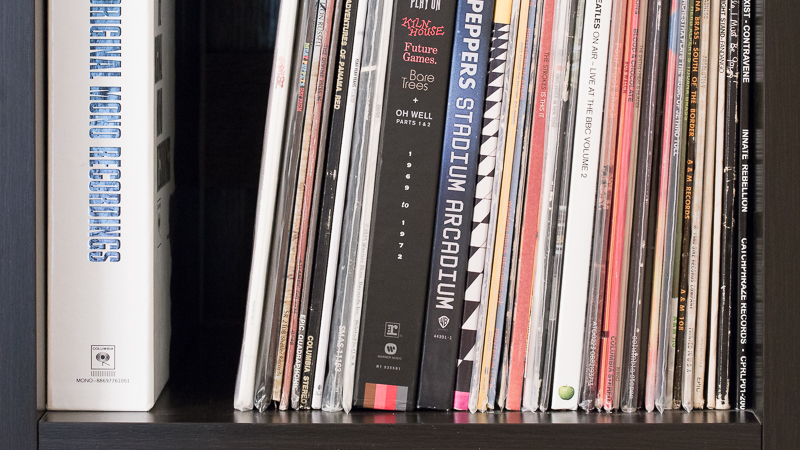
The finished unit from the front with all of the spacers.

A nice shot of a much larger shelf (5×5). Those are 1 5/8” x 3” spacers of Poplar that were custom ripped and planed.